- It’s Programmable
- Features at a glance
- How it works
- Design & durability
- PROS and CONS
- Best for Ground Coffee use…
- You should not buy this brewer if…
- CONCLUSION
OVERVIEW & HIGHLIGHTS
A Programmable Coffee Maker
The most unique feature of this brewer is that it’s programmable. It has a digital clock that you can program to start brewing before you wake up in the morning. It’s the only coffee maker by Bunn that has this feature. It also has a warming plate that turns on during brewing and off automatically after 2 hours. Also, the Bunn Heat and Brew is a certified home brewer by the Specialty Coffee Association.
Heat N’ Brew Features at a Glance
- Programmable Auto Start and Digital Clock
- Brews at a consistent temperature of 200 F using a digital thermometer
- SCA Certification – Brews at Golden Cup standards
- Capacity of 4 – 10 cups / 20 oz – 50 oz
- Brew time is 6-10 minutes
- Includes a Drip-Free Carafe made of Glass
- The warming plate has an auto turn off 2 hours after brewing. A nice energy saver and safety feature.
- 6-stream commercial style sprayhead
- Bunn 3 year warranty
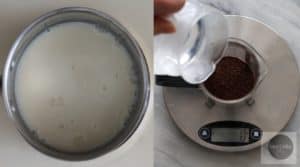
HOW IT WORKS
The Heat and Brew uses a 2 step brewing process. It takes 6 minutes to heat the water to 200 F and about 4 minutes to brew a full 50 oz pot of coffee.
With the Heat and Brew, the benefit in waiting is that the machine isn’t wasting energy. It has a built-in sensor that will not start brewing until it is at the ideal temperature of 200 F, as recommended by the Specialty Coffee Association.

However, the brewing time may be too slow for some. Most other Bunn models are fast and ready to brew 24/7. They keep water hot inside, ready on demand. Some may find this convenience is a bit wasteful.
Bunn coffee makers have hot water in the tank ready to brew. The Heat and Brew doesn’t waste energy-this coffee maker only heats the water when you need it.
Also, the digital display will remind you when the machine needs cleaning. This is about every 3 months. The notification will help you prolong the life of your machine.
So if you live in an area with hard water, the Heat and Brew can be a bit more sensitive to mineral build-up. It may need cleaning more often. In that case, you will have to clean it before the 3-month mark, to keep your machine running smoothly.
One criticism of the machine is that a few people have found that it can come with a plastic taste out of the box but many also report that this goes away after a few pots.
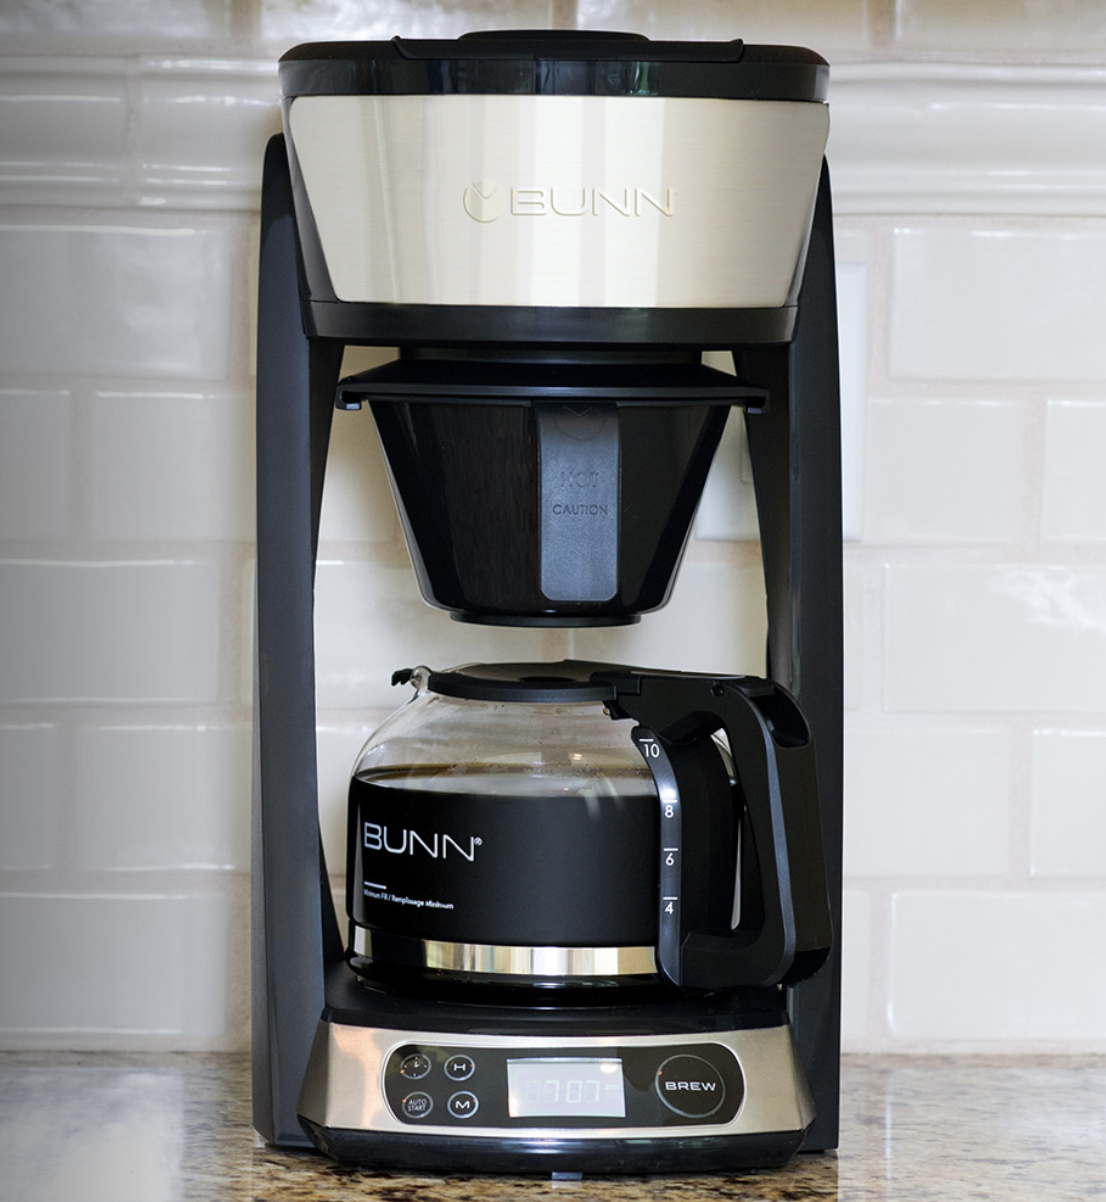
DESIGN & DURABILITY
The body is mostly plastic and the parts are BPA-free. It doesn’t have a stainless steel commercial grade tank, as do most other Bunn brewers. Yet you won’t have plastic leaching into your coffee. All the parts of the machine that
The heating plate temperature falls between 176-185 F when on. The glass carafe is dishwasher safe.
The Heat and Brew is modern by design and it is a bit taller than other Bunn models, due to the water reservoir on the top. It’s 16 inches high but 20 inches tall with the water reservoir lid open. So make sure it fits under the cupboards on your counter.
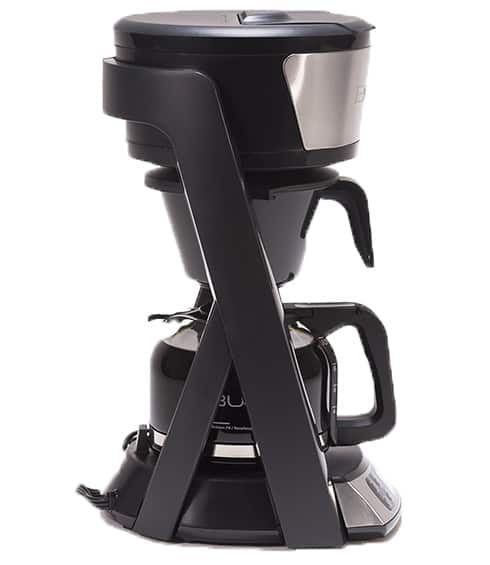
Although this model is more plastic than other brewers, it’s not flimsy and Bunn still gives it a 3-year warranty.
Pros
- Programmable. Wake up to the smell of freshly brewed coffee.
- The valve will not open up until it’s at the correct temperature to start. It maintains a consistent ideal water temperature of 200 F.
- You will save on monthly water bill and lower your carbon footprint
- The digital display will remind you when the machine needs cleaning, which is about every 3 months. This notification will help you prolong the life of your machine.
- SCA certified Brewer
- 3-year warranty, built to last.
Cons
- Slower than their other models. You have to wait 6 minutes to heat + 4 minutes to brew. No heated water in the tank 24/7
- It doesn’t have a stainless steel commercial grade tank, as do most other Bunn models.
- It doesn’t have a pause / stop if you want to sneak a cup of coffee before the brewing finishes. All Bunn brewers force you to wait until the full pot is complete-coffee tastes better if when you wait for the full pot to complete.
- The brewing system is a bit more sensitive to mineral build-up from the water. It may need cleaning more often if your water is hard.
- Ground coffee sitting overnight in the brew basket getting a bit stale
Best for Pre-Ground Coffee Users
Most find the Heat and Brew makes delicious coffee. Yet if you like to grind your coffee before brewing, this machine wouldn’t be my first choice.
Ground coffee shouldn’t sit in a filter overnight. That’s how programmable coffee makers work by design. Ground coffee starts to go stale once it’s ground and exposed to air.
Yet, I haven’t heard anyone complain about this, so it’s a minor quibble. Many people love the convenience of programmable coffee makers. It doesn’t seem to bother most when the benefit is waking up to the smell of freshly brewed coffee.
You should not buy this brewer if…
You want your coffee in under 4 minutes. If so, you’re better off with a Speed Brew Bunn brewer.
Plastic components bother you. The Heat and Brew is a little more plastic than their other models. It doesn’t have a commercial-grade stainless steel tank like other Bunn brewers. Some people will see this as a disadvantage.
You like to grind and then brew. This machine is programmable to brew in the morning but it doesn’t have a grinder. You do have to put ground coffee in the night before.
You live at an altitude of 4000 ft. Do not to buy this model as you may get an Error 003 message. You are better off with one of the Bunn Altitude models.
CONCLUSION
There are many coffee makers on the market, and choosing one can get confusing. Yet I truly believe you can’t go wrong with a Bunn home brewer.
If you love the idea of a programmable model that will brew coffee when you wake up, then this is a great fit.
One of the most important elements of good brewing is the correct temperature. Bunn gets this right every time. It brews consistently for ideal coffee extraction.
The Heat and Brew is a good choice if you don’t need the machine ready 24/7. It makes excellent coffee and only heats the water when you need it. It will help you save on your water bill and lower your carbon footprint.
If you want something faster, then you might be better off with the Bunn Speed Brew series.
If you like to grind coffee beans in the morning, then you are better off with a grind and brew coffee maker.
There is nothing complicated or fussy about the Bunn Heat and Brew- that’s why people like it. It’s designed for one function-to make coffee at golden cup standards.
It has a 3-year warranty. That tells you how confident they are of their product.
If you buy a Bunn brewer, expect to have if for a long time as they tend to last. I know many people who have had one for over 10 years.
There will always be less expensive options for a coffee maker. Yet if you spend a little extra now, a Bunn brewer is well worth it in the long run.
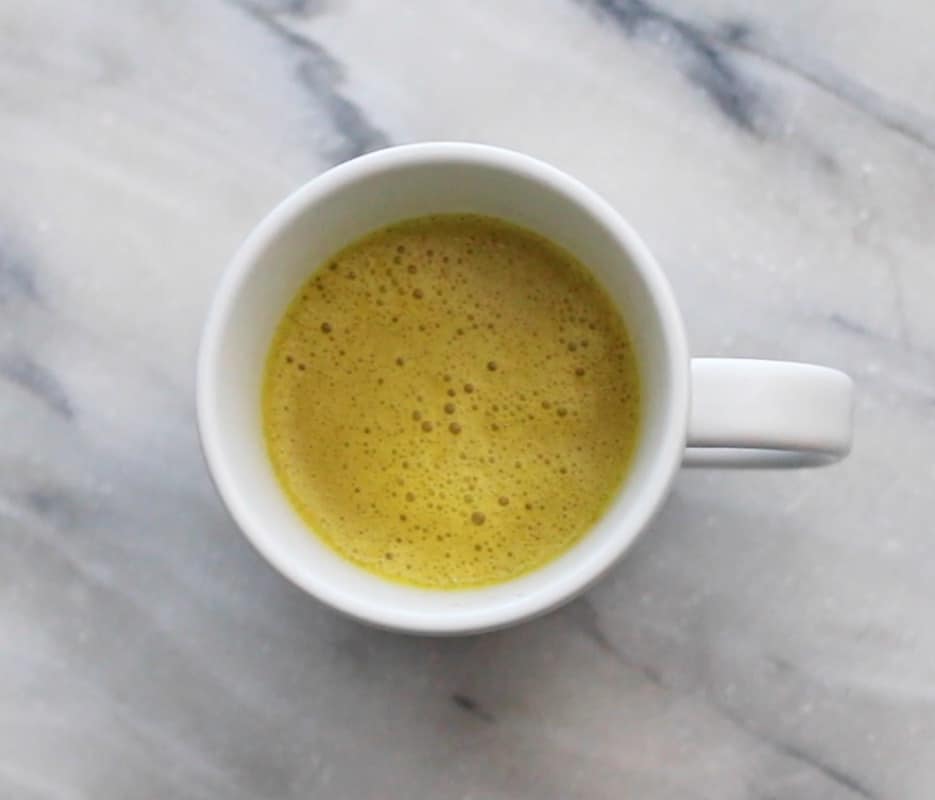
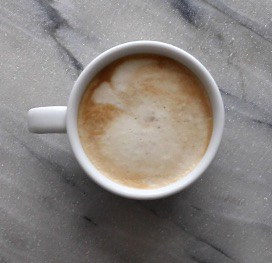
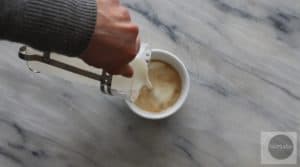 8. Pour the frothy milk over your coffee. Enjoy!